In our ongoing series of articles aimed at those beginning their audio journey, How to Set Up and Wire Your HiFi System: A Beginner’s Guide is aimed at newcomers who are unsure of where to start. It covers all the basics that should get you up and running, but when wiring anything involving mains electricity you should always consult the manufacturer’s handbook for the specific component – and if in doubt consult an expert!
Setting up a HiFi system can seem like a daunting task, especially for beginners just starting their audio journey. But with a bit of simple guidance, you can create an audio system that not only fits your space (very important) but also delivers excellent sound quality. In this guide, we’ll cover the essential steps for correctly setting up and wiring together your HiFi system, from where to position your components and speakers to ensuring the best connections between each piece of kit.
Understanding the Components of a HiFi System
Before getting into the setup, let’s briefly explain the key components of a standard HiFi system:
- Amplifier: The powerhouse of your system, responsible for driving your speakers. It receives audio signals from your source devices and amplifies them.
- Source Components: Devices that provide the audio signal, such as turntables, CD players, streamers, or DACs (Digital-to-Analog Converters). DACs can be separate devices or built in to digital components – we’ll go into them in a later article in the Audiophile’s Handbook.
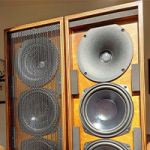
- Speakers: The most important part of any system (some would say), speakers turn the amplified signal into sound.
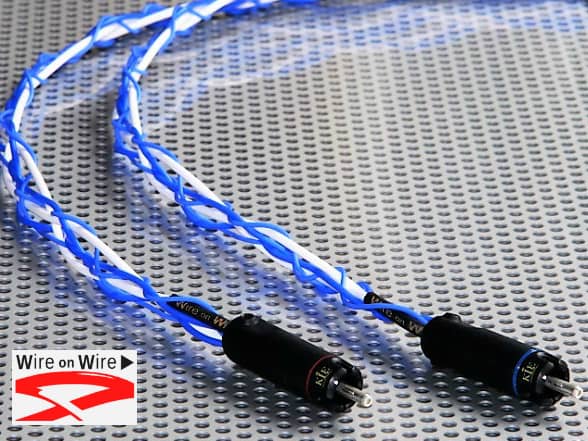
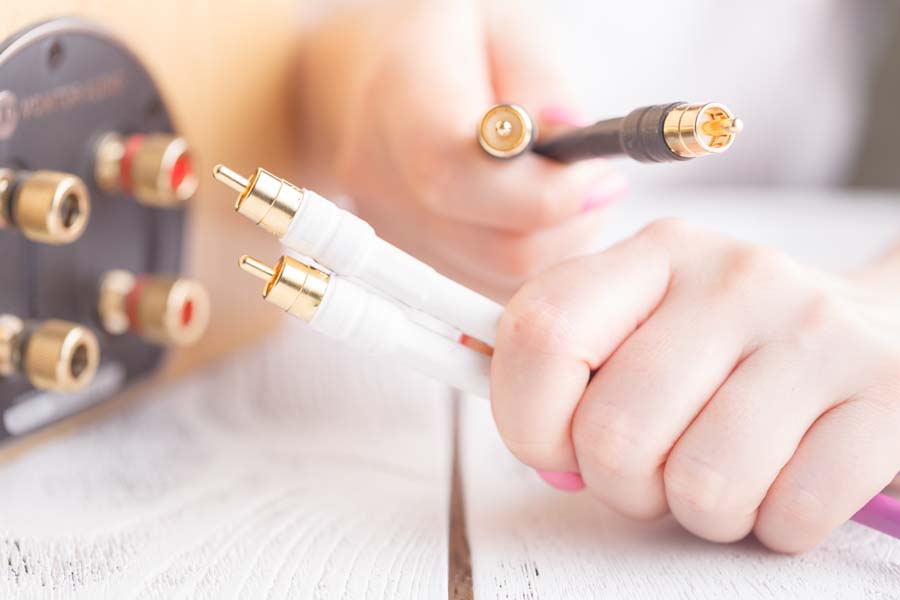
- Cables: Various cables (speaker cables, interconnects, power cords) are necessary to link your components and ensure a clean transmission of audio signals.
A properly connected and positioned system will maximise your listening experience, so let’s walk through how to set everything up.
Choosing the Right Location for Your HiFi System
The first step to setting up your HiFi system is deciding where everything will go. Placement plays a key role in the performance of your equipment and the overall sound quality of the system. Here’s what to consider:
Racks and Stands
Your equipment should (ideally) be placed on a sturdy, dedicated rack or stand. The goal is to provide a stable, isolated platform that reduces vibrations and ensures proper airflow to prevent overheating.
- Dedicated Audio Racks: Purpose-built audio racks not only support the weight of your equipment but are designed to minimise unwanted resonance. Some come with built-in isolation features like rubber feet or spikes. Prices vary, as does the complexity of the design.
- Positioning the Rack: Place your rack in an easily accessible area, ensuring you have enough space to connect and access the back of each component. Avoid putting the rack near heat sources like radiators.
Avoiding Interference
Avoid placing components directly on top of each other, especially your amplifier, which can generate heat. Overheating may affect the performance and longevity of your system. Additionally, keep power supplies away from audio equipment and cables to minimise electrical interference.
Wiring Your HiFi System
Now that your components are set up, it’s time to wire them together. Follow these steps to ensure proper connections but always refer to the manufacturer’s handbook that will invariably have more detailed and specific instructions:
Connecting the Source Components
- Turntables: If using a turntable, connect it to your amplifier’s phono input (or external phono stage, if needed). Turntables require a phono preamp to boost the signal to a level your amplifier can work with. If your amplifier doesn’t have a phono input, you’ll need an external phono stage, which connects between your turntable and amplifier. There are different kinds of cartridge, with the main two types being Moving Magnet and Moving Coil. Ensure your phono stage or amplifier allows for the type of cartridge you have – Moving Magnet tend to be most common at the level this article is intended.
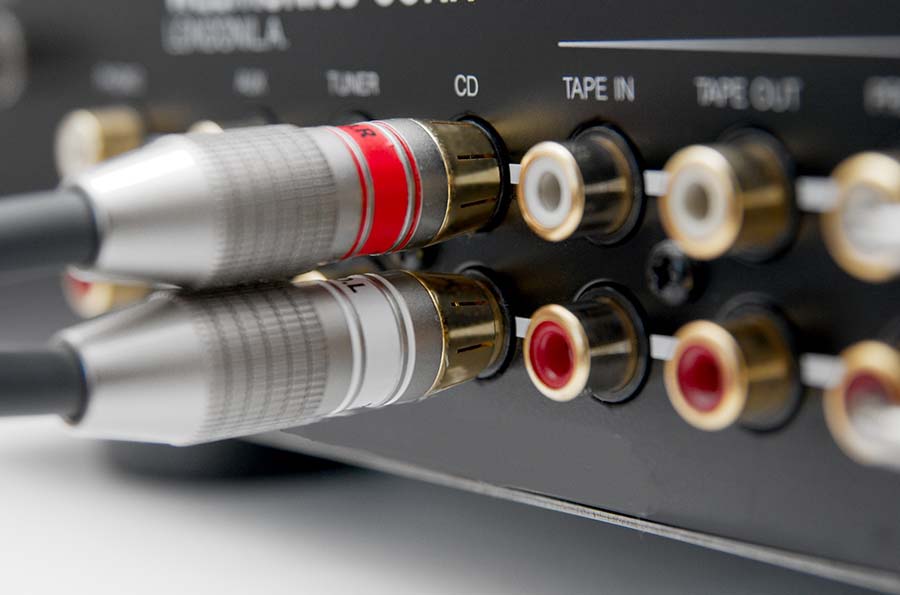
- CD Players, Streamers, and DACs: These digital sources typically use RCA cables or digital connections (like optical or coaxial). Some may use XLR connectors. Connect these to the appropriate input on your amplifier. These will be line-level inputs and may be labelled CD, AUX, TUNER, LINE.
Amplifier Connections
Your amplifier acts as the hub of your system. It receives signals from your source components and sends them to the speakers. Make sure to match the input on your amplifier with the source component you’re connecting (e.g., “CD” for a CD player, “AUX” for a streamer) – sounds obvious but it will keep you sane down the line.
- Preamp and Power Amp: If you’re using a separate preamp and power amp, connect the preamp to the power amp using RCA or balanced XLR cables, whichever your specific set up allows for. If you have the option of RCA or XLR, the choice is yours which to use but we do recommend XLRs.
Speaker Connections
Connecting your speakers to the amplifier is critical for the best sound, or to get any sound for that matter. Here’s how to do it, but first make sure everything is turned off in your system – a normal precaution whenever changing cables of any kind:
- Speaker Cables: Use high-quality speaker cables, with the correct length to comfortably reach between the amp and speakers without putting strain on the cables or equipment.
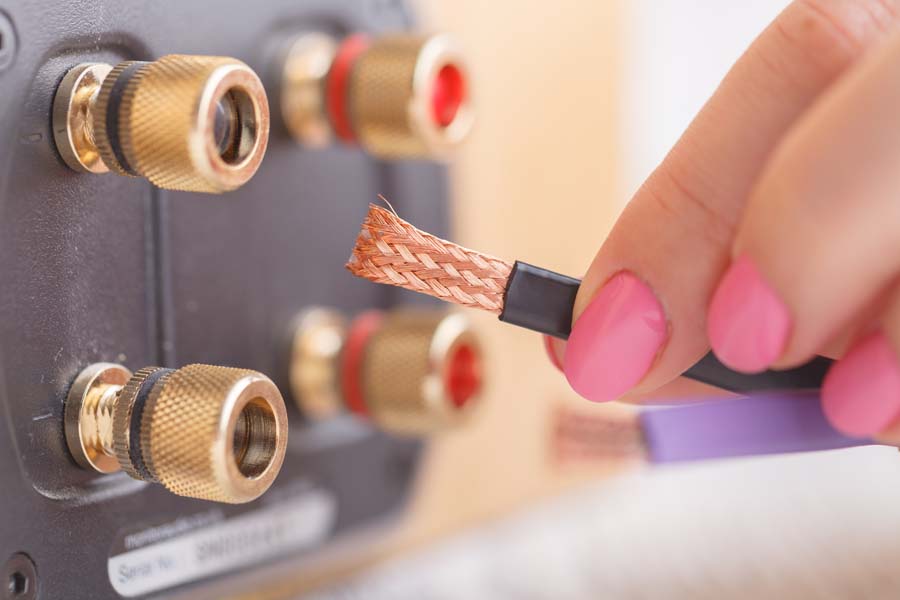
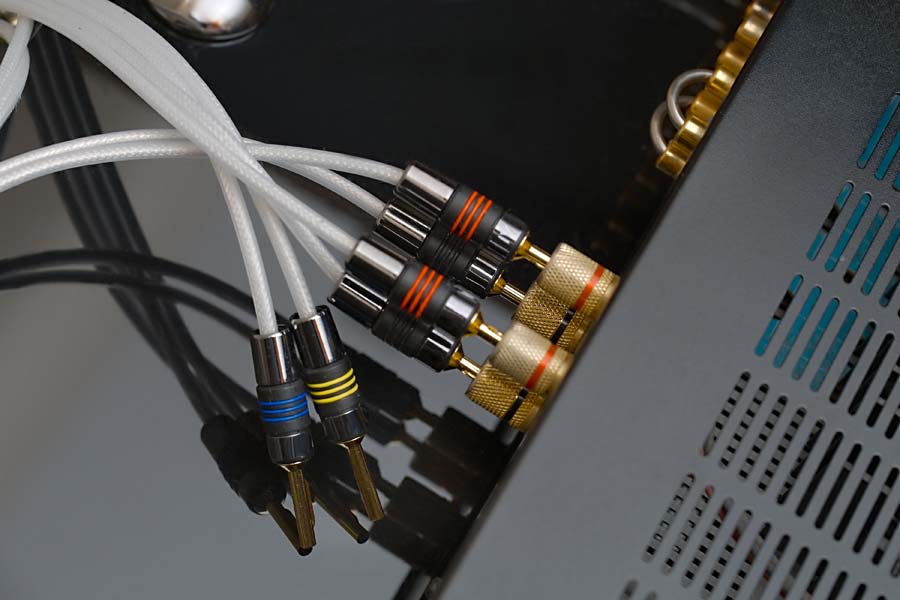
- Connecting the Cables: Ensure the positive (+) and negative (–) terminals on your amplifier match the corresponding terminals on your speakers. Most speaker cables are colour-coded (red for positive, black for negative) to prevent mis-wiring. Reversed polarity (i.e., connecting positive to negative) can result in phase issues, which negatively affect sound quality – sucked out bass. Some cables will come with bare wires, some with banana plugs, and some with spade connectors – the choice is yours and most binding posts (the bit on speakers and amps that the wires connect to) allow for all – but check before you buy.
- Bi-Wiring: If your speakers support bi-wiring (two sets of terminals), you can use two pairs of cables to connect the amplifier to the speakers. This may improve sound quality, though it’s optional for most systems and 10 different folk will give 10 different opinions on this.
D. Powering Your Components
Once all your components are wired together, plug them into a power source. If possible, use a dedicated power strip or conditioner to protect your equipment from power surges and to reduce electrical noise. We’ll go into power supplies at some point down the line in this series but it’s an often overlooked part of HiFi systems.
Speaker Placement: The Key to Great Sound
Correct speaker placement is one of the most important aspects of a HiFi system setup. Even the best speakers will underperform if they’re not positioned properly and we’ve seen some horror shows, even at audio events. Follow these guidelines for optimal speaker placement, but some manufacturers will have specific guidance in their manuals:
The Listening Triangle
For most HiFi setups, aim to create an equilateral triangle between your two main speakers and your listening position. This arrangement helps produce a balanced stereo image and a well-defined soundstage. At HiFi PiG we use a specially made laser doodad that really makes the whole basic set up of speakers very easy and I hope it comes back into production at some point. Here’s how to set up the listening triangle:
- Distance Between Speakers: Start by placing the speakers 6 to 10 feet (2-3 metres)apart, angled slightly inward towards the listening position. The actual spacing will depend on the size of your room but do try to keep them away from side walls if possible.
- Distance to Listening Position: The distance from each speaker to your listening position should be roughly the same as the distance between the two speakers. This creates a symmetrical soundstage.
- Speaker Height: Ensure the tweeters (the small high-frequency drivers in your speakers) are at ear level when seated. Most floorstanding speakers will likely be set like this, but if you are using standmount speakers work out the height you need to get your specific speakers at ear level.
The Listening Triangle is a broad “rule” and a great place to start, but use your ears and remember that rules were made to be broken.

Room Acoustics and Speaker Distance from Walls
- Avoiding Walls and Corners: Speakers perform best when placed at least a couple of feet (60cm) away from walls or corners. Placing them too close to a wall can result in boomy bass and less clarity in the midrange and treble. However, some speakers are made specifically to work best close up to the wall so check before you buy if this is a requirement.
- Toe-In Angle: Experiment with angling the speakers slightly towards the listening position (toe-in). This can improve the focus of the sound and reduce reflections from sidewalls. Our preference with most speakers is to have them pointing to the corresponding ear and our little laser doodad makes this very simple, but you can do this with a simple laser pointer placed in the centre of the front edge of the top of your speaker.
Subwoofer Placement
If you’re using a subwoofer, it’s important to position it properly to avoid overly boomy or muddy bass. Most subwoofers perform best when placed in a corner or along a wall, but avoid placing them directly in a corner as this can cause excessive bass buildup.
A good trick is to start by placing the sub in your listening position and then walk around the room to find where the bass sounds the most balanced. That’s where you should place the subwoofer.
Testing and Fine-Tuning Your System
Once everything is connected and positioned, it’s time to test your system and make adjustments. Start by playing a familiar track that you know well and listen carefully. It’s useful to have a couple of people here to allow on-the-fly adjustments, particularly to speakers.
Checking the Connections
Make sure all components are powered on, and check that you’re getting sound from both speakers. If one speaker isn’t working, double-check the speaker and cable connections.
Balancing the Sound
As you listen, make adjustments to the speaker placement if necessary. If the soundstage feels off or the bass is too strong, try moving the speakers slightly forward or backwards. Small changes in placement can have a big impact on sound quality and it’s well worth taking time to get this right.
Adjusting the Volume
Ensure the volume is set to a comfortable listening level. Avoid cranking up the volume too high, as this can cause distortion and damage to your speakers or amplifier over time.
Final Tips for HiFi Setup Success
Here are a few final tips to ensure your HiFi system is set up for optimal performance:
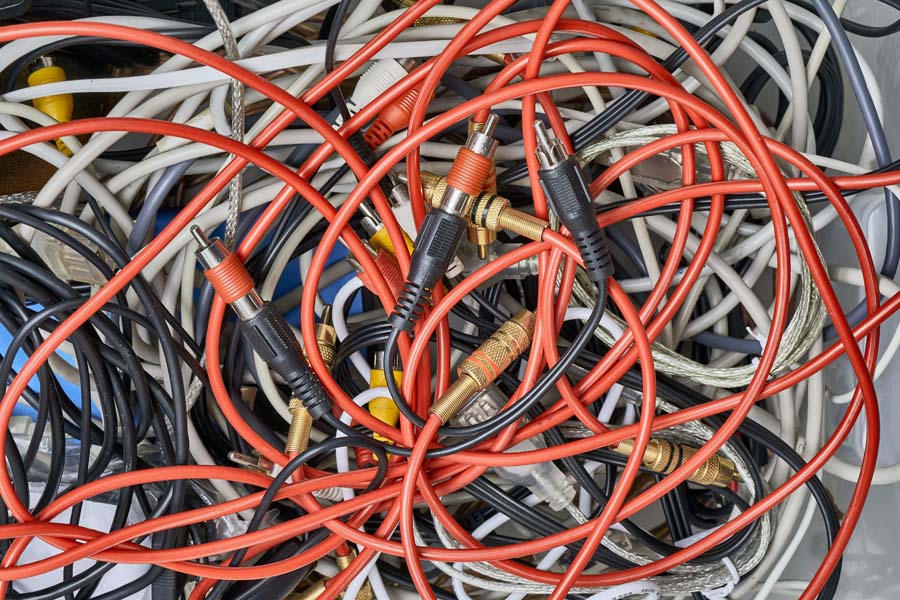
- Cable Management: Keep cables neat and organised. Avoid running power cables parallel to speaker or signal cables, as this can introduce noise.
- Isolation Pads: Consider using isolation pads or feet under your speakers and components. These reduce unwanted vibrations and help improve sound clarity. Many commercial designs are avaialble and it is possible to experiment with DIY solutions that can be fun and very cheap.
- Upgradability: As you get more experienced with HiFi, you may (WILL) want to upgrade components. Keep your setup flexible to accommodate future gear changes.
Conclusion
Setting up and wiring a HiFi system may seem complex, but by following these steps it shouldn’t be too daunting at all. The key is proper component placement, careful wiring, and speaker positioning. With your system set up correctly, you’ll enjoy high-quality sound that brings your music to life. Remember, patience and small adjustments make all the difference when fine-tuning your HiFi system for optimal performance.
When wiring anything to do with mains electricity you should always consult the manufacturer’s handbook for the specific component and if in doubt consult an expert!
READ MORE ARTICLES IN THE AUDIO COMPANION SERIES OF ARTICLES


